Concept testing has always been a crucial step in the process of bringing any new product or idea to market. All of the time and money spent on development can be completely wasted if it turns out that your intended market has no interest in what you have developed. This is where concept testing comes into play.
Concept Testing Within Recollective
Concept testing is most effective when qualitative and quantitative methodologies are leveraged together. The versatility of Recollective allows researchers to apply this same approach to conduct concept testing in an online environment. A diverse toolbox of qualitative and quantitative Task types allow you to easily program your Discussion Guide into the platform.
Recollective has been used to test a wide variety of concepts including, but not limited to:
- Advertisements/commercials
- Products
- Packaging
- Brand or message statements
In addition, the forum style Discussions feature also allows for open-ended concept ideation, allowing you to collect valuable input and/or suggestions from participants if you are still early in development.
Now let’s talk about the steps you should take when creating a concept testing Activity within Recollective…
Agreements
Before setting up your concept testing Activities and/or Discussions, you’ll want to ensure that your concepts are secure by setting up a Non-Disclosure Agreement within the platform. By requiring participants to sign an NDA, you will discourage them from sharing any private ideas or concepts with the general public or with competitors. If you are uncertain whether you need to setup an NDA, we would recommend playing it safe and setting one up anyway.
Building a Concept Testing Activity
Number of concepts to review / test
To begin, you’ll want to determine the number of concepts to test. The number of concepts you plan to test should reflect the duration and size of the community. Too many concepts or expecting too much detail from a small group of participants in a short timeframe can lead to fatigue, dropout, and/or lower quality responses.
If you intend on having participants complete a deep dive for each concept, we would recommend presenting each participant with 3 concepts over a fielding period of at least 4-5 days. If you need to test a large number of varying concepts, a best practice would be to only conduct a surface level review of each and then follow up by having participants select their favourites from what they’ve been shown. That way, you’ll be able to watch and analyze as trends develop, and you can easily program follow up questions while the community is live. This will allow you to conduct a deep dive on the smaller number of concepts that resonated with participants the most.
Socialization
Once you’ve agreed with your client or stakeholder on the number on concepts being tested, you’ll want to determine how you would like your Activity to be socialized. Would you like the participants’ responses to be private and only visible to themselves, similar to an in-depth interview? Or do you want them to interact with each other, allowing them to like, dislike, and/or comment on each others responses? Do you want participants to be able to influence each other? Or do you only want them to interact after they have responded themselves in order to avoid any biases that may arise? These are some of the questions you’ll need to ask yourself when determining how you would like your Activity to be socialized, but rest assured, whatever you decide Recollective has you covered.
Programming into Recollective
The next step is creating your guide and then programming it into Recollective. The key, as mentioned previously, is leveraging both qualitative and quantitative task types. Whenever you ask your participants to rank or rate concepts, you can easily follow up as to why they answered a certain way in order to gain additional insights or to identify trends.
Now let’s get into a basic concept testing Activity setup. Keep in mind this is just a basic template Activity design, and that Recollective is flexible enough to allow you to use any Task type of your choosing when testing concepts.
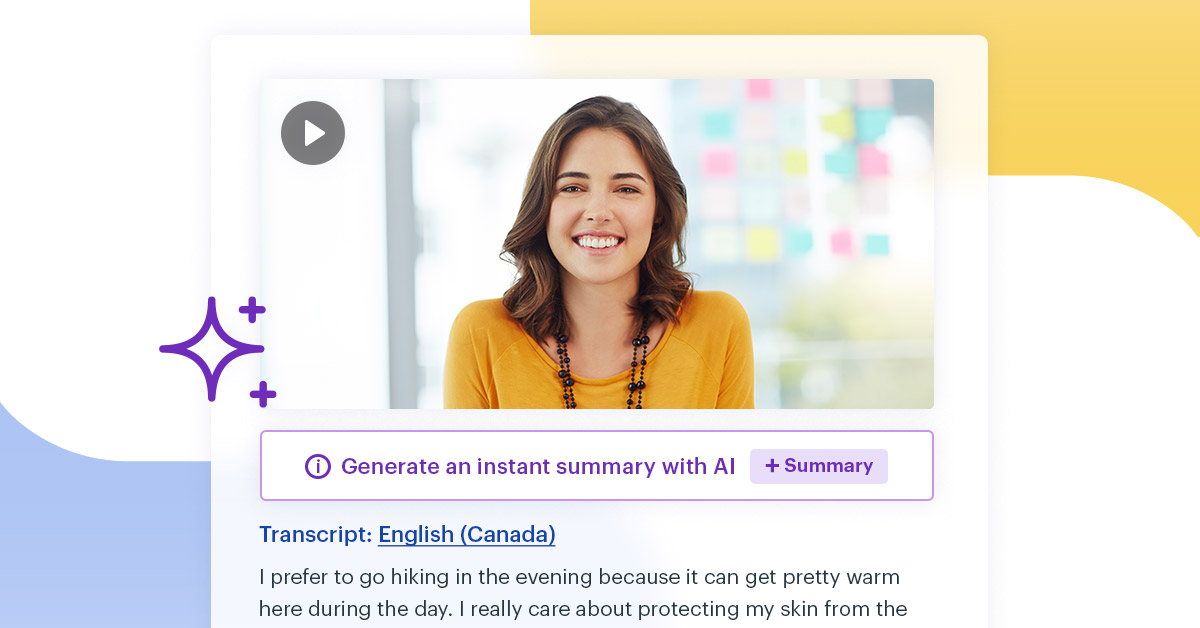
First Impressions: You can begin by presenting the first concept and gathering participants’ first impressions on that concept. Photo, Video, & Text Tasks are incredibly flexible, and can all be tailored to allow you to capture text, photo or video responses – or any combination of the three. You can allow participants to respond however they see fit, or force them to provide their response in multiple formats. This allows you to capture a quick qualitative response of your participants’ initial reactions to the concept as they begin to develop their perception of it. Videos that are uploaded as responses into Recollective are also automatically transcribed, allowing you to easily run text analytics on a video response. You can even excerpt portions of the transcription to ‘clip’ the video, saving yourself time later during analysis.
Quantifying First Impressions: Next, you can use a Poll Task to quantify participants’ thoughts on the concept. You can configure the rating scale how you see fit, and even require that participants explain why they made a particular rating. The Poll Task will produce an easy to read, dynamic Pie Chart within the Summary tab of your study so that you can quickly identify how each of your concepts are being received by participants.
Testing Visuals: Concept testing typically involves some kind of visual stimuli, such as an image of a packaging concept or the first draft of a video advertisement. The Image Review and Video Review Tasks excel in these instances, allowing you to gain unique insights on the visuals you are testing.
The Image Review Task produces an interactive heat map of all markers placed by your participants. Each marker has the option of being customized from the Emoji Library, and you have the option to enable marker annotations to ask a simple follow-up question in order to get a better understanding of why the participants placed each marker. The heat map allows you to filter by marker type to focus on particular aspects of the concept (such as things participants liked), or to select a specific area of the image to drill down on any interesting clusters of markers, or onto a specific component of the concept. For example, in the Image Review output below, you could filter onto the seat to get an idea of what participants liked and/or didn’t like about it specifically. Alternatively, you could filter on dislike markers to identify components of the bike that participants weren’t particularly fond of. This can help to gain a better understanding of what participants think of the concept as a whole, or even its individual pieces or components.

In addition to testing specific visuals such as packaging or add concepts, the Image Review Task can also be used to evaluate participants perceptions of a concept using projective techniques or perceptual mapping. For example, you could conduct a perceptual mapping exercise that asks participants to indicate how they feel each of your concepts compares on price and quality. In this instance, participants would be able to indicate how they feel about each concept by placing a marker for each one along the price and quality axes.

The Video Review Task works similarly to the Image Review, but rather than marking up an image, participants are asked to mark up and annotate specific moments or time stamps in a video, such as an advertisement or even a TV show pilot. The Video Review Task produces an output that is similar to SoundCloud, displaying the markers along the videos timeline, allowing you to easily visualize any concentrations within the marker distribution. This can be extremely useful to help determine the portions of a video that resonated with participants, as well as the portions that did not.
With both the Image and Video Review Tasks, you have the ability to enforce limits on the length of the annotations, as well as the quantity and types of markers used, to ensure that your participants are providing sufficient responses.
Following Up: The Fill the Blanks Task is incredibly versatile and is commonly used in concept testing to ask participants any remaining follow-up questions regarding each concept. The Fill the Blanks Task allows you to ask multiple questions in one single Task while still parsing out the response data to each question, which can help to simplify analysis later on. It also allows you to ask poll, slider and text questions or have participants upload images all on a single page, which can be useful for getting additional ratings (and explanations of these ratings) regarding each concept from participants. Asking questions about whether participants would recommend a product, what their final thoughts are, or if there is currently anything similar on the market can prove very useful.
Removing Biases: Next, you’ll want to randomize the presentation of the Tasks you have programmed. Now that you have your Tasks programmed to review your first concept, you can take advantage of the Randomized Task Grouping feature within Recollective. Randomized Task Grouping allows you to create groups of Tasks for each concept, and then to randomize the presentation of these groups. This is crucial when testing more than one concept as it reduces reference and order bias among your participants, ensuring that participants responses truly reflect their thoughts on each concept, as opposed to the order they were presented in. Creating a Task Group is simple, you just need to drag and drop your Tasks onto each other. Once this is done, you have the option of copying the entire Task Group, making it incredibly simple to program the rest of your Activity – just remember to update any verbiage that references specific concepts.

Comparing Your Concepts: Now that you have your randomized Task Groups programmed for each concept, you’ll want to end by comparing them. As mentioned previously, you could use an Image Review Task to conduct a perceptual mapping exercise to compare your concepts, but you could also use a Grid or Fill the Blanks Task.
- Grid Task: A Grid Task will allow you to get a final ranking of the concepts against each other so that you can quickly and easily identify which concepts participants preferred. You’ll want to randomize the presentation of your concepts here in order to prevent order bias. As mentioned earlier, the best approach to concept testing involves leveraging both qualitative and quantitative methodologies, so you will want to capture participants’ explanations along with each of their rankings. Thankfully, the Grid Tasks allows you to require that participants explain why they ranked each concept as they did, providing you with additional context as to why certain concepts were preferred over others.

- Fill the Blanks Task: We recently added the option to conduct scaling exercises within the Fill the Blanks Task. This new option can be leveraged to quickly compare all of the concepts you have shown your participants. You could add a Scale and Text blank for each concept so that participants can rate them and provide explanations for their ratings, or you could use an Allocation blank to ask participants to allocate a set number of dollars/time/percentage points/etc. across each of your concepts in order to get a direct comparison. In the example below, participants are told they have 1000 dollars and asked to indicate how much of their 1000 dollars they would be willing to spend on each concept. In this instance, you could then follow up with a Text blank so that participants can provide a detailed explanation regarding how they allocated their money.

Discussions
Discussions can provide useful insight when concept testing as well. While Activities are structured and mandatory, Discussion Topics are open and participants are free to respond in whatever manner they would like – think of an online discussion forum. For this reason, Discussion topics can be ideal for open-ended concept ideation, allowing participants to come and go as the Study is live, leaving ideas, comments, and/or suggestions as they wish.
Conclusion
While this setup is a good start, it is only meant to be a guideline. You can configure your concept testing Activities & Discussions in whatever way works best for you. The three key takeaways you’ll want to remember are:
- Don’t overdo it. While it can be tempting to include deep dives into a wide variety of concepts, try to narrow your approach as much as possible. If you do have a large number of concepts, keep it brief until you have identified a subset of preferred concepts to dive deep on.
- Leverage both qualitative and quantitative Task types. While it is valuable to know that participants rated a concept 3 out of 5, understanding why is just as (if not more) important. Think about the kind of data each Task type will get you before building out your Activities.
- Do your best to avoid biases. Task Randomization and Grouping are important features that will help you to avoid bias when concept testing. In addition, the ability to copy Groups can save you a lot of time in the front end. Don’t forget to leverage these tools to ensure you collect the data you want in an efficient manner.


.jpg)


.svg)